
how to clean reusable air filter car questions usually pop up right after you notice sluggish acceleration, a dip in MPG, or a filter that looks more gray than red or blue.
The good news is most reusable engine air filters are designed to be serviced, not tossed, but the “how” matters because the wrong cleaner, too much pressure, or rushed drying can quietly damage the filter media and reduce filtration.
This guide walks you through a practical, brand-agnostic process, plus quick checks to confirm your filter is actually reusable, and a simple schedule so you’re not cleaning too often or too late.
Reusable vs. disposable: confirm what you have before you clean
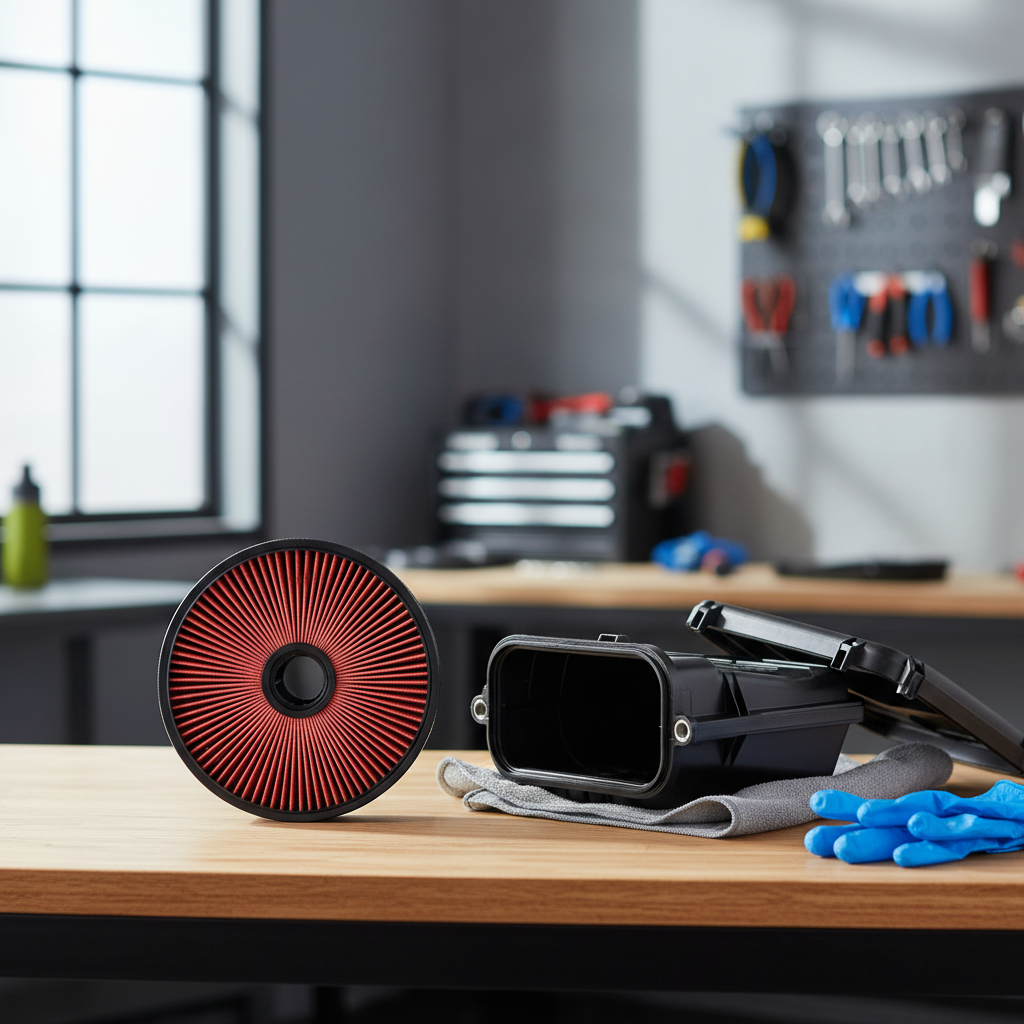
Before you start, make sure you’re not trying to “revive” a disposable paper filter, those are meant to be replaced. A reusable filter is typically cotton gauze or synthetic media, often sold as “washable” and sometimes “oiled.”
- Look for labels or branding on the rubber frame or the airbox lid: “washable,” “reusable,” “performance,” or a part number you can search.
- Check the media: paper looks like pleated cardboard and tears easily when wet, reusable media feels more like fabric or mesh.
- See if it’s oiled: many reusable cotton gauze filters use tacky oil to trap fine dust.
If you still can’t tell, pull up the owner’s manual or the filter manufacturer’s page. According to EPA, proper vehicle maintenance supports emissions control systems and overall efficiency, so it’s worth confirming the right service approach for your exact part.
Why reusable air filters get dirty faster than people expect
In real driving, filters rarely dirty up in a neat, predictable way. Your commute and environment usually matter more than mileage.
- Dusty routes and construction zones load the filter quickly, even if your miles are low.
- Stop-and-go traffic keeps airflow cycling and can pack debris into the surface.
- Rainy seasons can turn dust into grime, especially if the airbox seal isn’t perfect.
- Over-oiling on oiled filters can attract dirt faster and sometimes contaminate the intake tract.
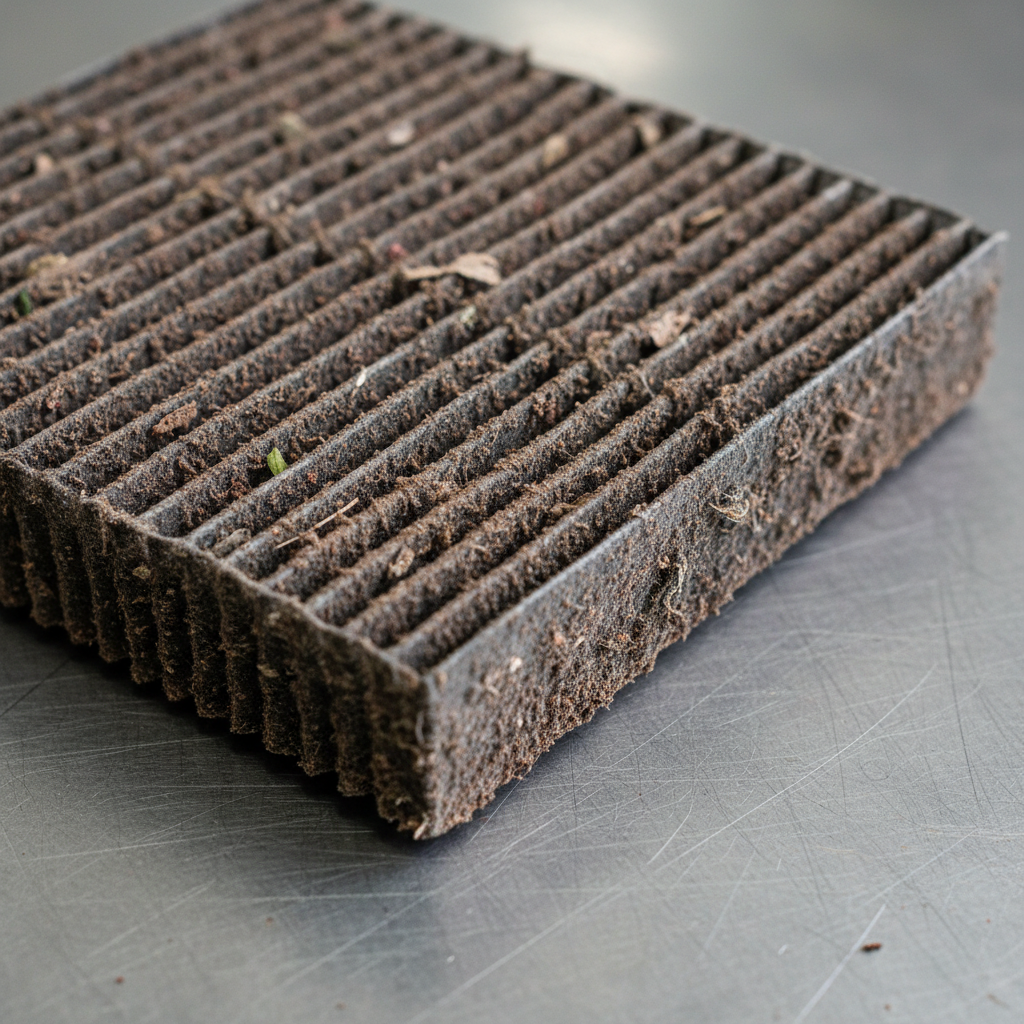
One more thing people miss, a “dirty-looking” filter is not always a “done” filter, but a clogged filter usually shows uneven dark spots, heavy debris, and reduced airflow when you hold it up to light.
Quick self-check: do you need to clean it now?
If you’re debating whether to clean today or “wait a bit,” use this checklist. It saves time and avoids over-cleaning, which can shorten filter life.
- Visual load: thick dirt layer, bugs, leaves, or dark patches across a large area.
- Light test: held up to a bright light, airflow passages look notably blocked.
- Symptoms: mild power loss, rough idle that isn’t explained by other issues, or MPG drop.
- Service interval: you’re past the filter maker’s suggested cleaning mileage for your conditions.
If your engine has a check engine light, cleaning the filter might not solve it, treat that as a separate diagnostic path.
Tools and supplies (what to use, what to avoid)
You do not need a lot of gear, but you do need the right liquids. Household degreasers can strip media treatments or attack rubber.
- Approved cleaner for your filter type, ideally the manufacturer’s kit for cotton gauze or synthetic.
- Low-pressure water from a sink hose or gentle garden hose setting.
- Soft brush only if your manufacturer allows it, many prefer no brushing.
- Clean towels and a drying rack or a well-ventilated spot.
- Filter oil only if your model is an oiled reusable filter.
Avoid compressed air, high-pressure washers, gasoline, brake cleaner, harsh solvents, and heat guns. These are common “shortcuts” that often create microscopic damage or deform seals.
How to clean a reusable air filter (step-by-step, most cars)
This process fits most engine intake filters. If your brand gives a different sequence, follow theirs, especially for oiling and dry time.
1) Remove the filter carefully
Turn the car off, let the engine bay cool, then open the airbox or loosen the intake clamp if it’s a cone-style setup. Keep dirt from falling into the intake tube, a quick wipe around the housing edge helps.
2) Tap and pre-clean
Gently tap the filter on your palm or a soft surface to knock loose debris. Don’t smack it on concrete, the frame and pleats can deform.
3) Apply cleaner and let it dwell
Spray cleaner evenly, especially on the dirty side, then wait the recommended time so it can break down grime. Don’t let the cleaner dry on the filter.
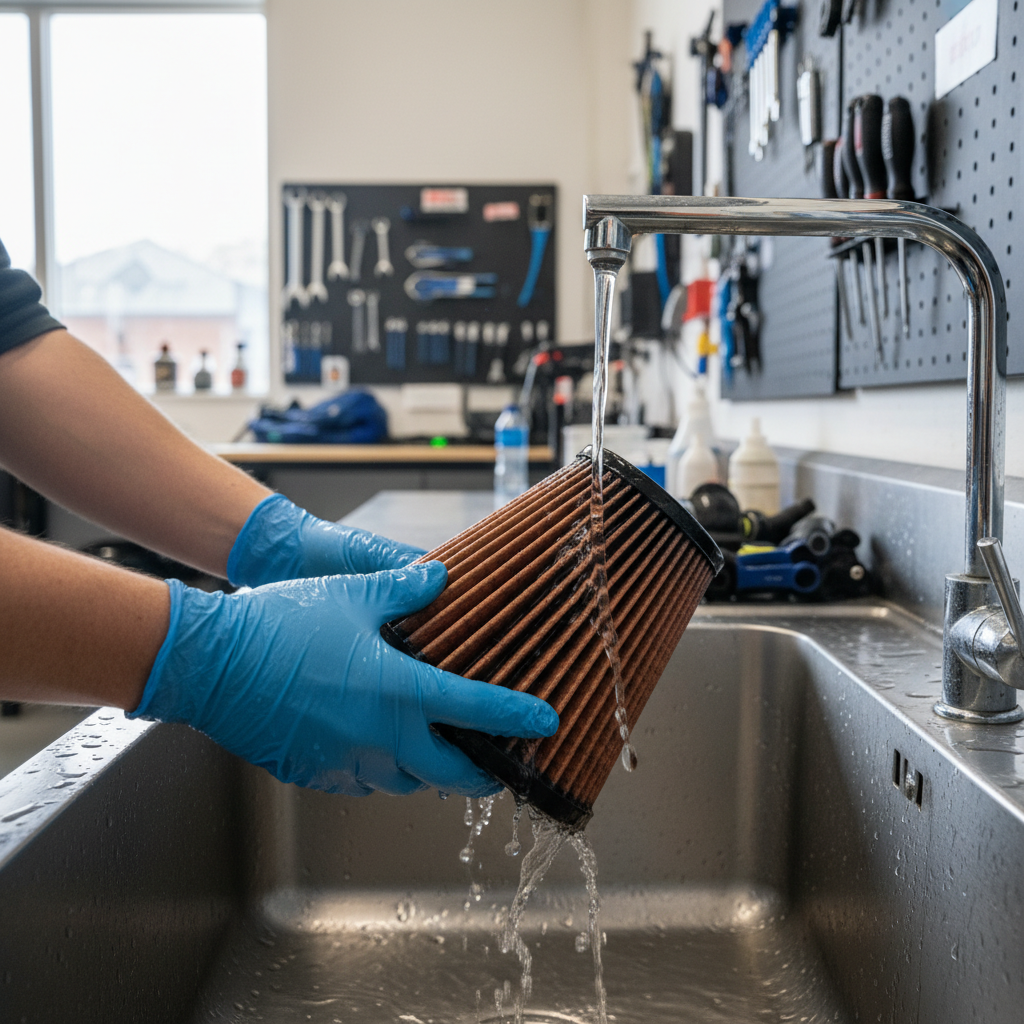
4) Rinse from the clean side toward the dirty side
Use cool to lukewarm water, rinse from the inside out when possible. This pushes contamination out rather than deeper into the media, which is a small detail that makes a big difference.
5) Repeat if needed, but don’t chase “perfect”
If heavy spots remain, another cleaner cycle is usually safer than aggressive brushing. Some staining is normal and doesn’t automatically mean poor filtration.
6) Air-dry fully
Let it dry naturally until there is no dampness in the pleats. Reinstalling wet can pull moisture into the intake and may affect sensors on some setups.
7) Re-oil only if your filter requires it
If you have an oiled cotton gauze filter, apply oil in light, even passes and allow it to wick through the media before reinstalling. Over-oiling can cause drivability problems on some vehicles, especially those sensitive to intake sensor contamination.
8) Reinstall and check sealing
Ensure the filter seats flat, the airbox gasket looks intact, and clamps are snug. A small gap can let unfiltered air bypass the media, which defeats the point of cleaning.
Oiled vs. dry reusable filters: what changes in the process
The cleaning steps look similar, but the finishing step is different, and this is where most mistakes happen.
| Filter type | Key cleaning note | Common mistake | What to do instead |
|---|---|---|---|
| Oiled cotton gauze | Must be fully dry before re-oiling | Over-oiling or reinstalling damp | Apply light, even oil, allow wicking time |
| Dry synthetic | No oil step, focus on gentle rinse | Adding oil “for extra filtering” | Keep it dry-type, replace when media degrades |
| Foam (some off-road) | Often oiled, may need specific cleaners | Using harsh solvents that melt foam | Use approved cleaner and compatible oil |
Key takeaways (so you don’t overthink it)
- Confirm the filter is truly reusable before you wet anything.
- Rinse gently, ideally from clean side to dirty side to push debris out.
- Dry time matters, rushing this step causes many avoidable problems.
- Oil only when required, and use less than you think you need.
When you should stop and get help
If you’re following how to clean reusable air filter car steps and something feels off, pause. You may want a professional mechanic if you see intake tube cracks, the airbox won’t seal, or the car runs noticeably worse after service.
Also consider extra caution if your vehicle has a highly modified intake, a tune, or sensitive airflow measurement. According to NHTSA, safe vehicle operation includes proper maintenance, and if a maintenance task creates new drivability issues, getting it inspected can be the safer call.
Conclusion: clean it right, and it usually pays back in smooth airflow
Knowing how to clean reusable air filter car setups comes down to a few non-negotiables: gentle cleaning, thorough drying, and correct oiling only when your filter design calls for it.
If you want a simple next step, put a reminder on your calendar to check the filter at your next oil change, and keep the proper cleaner on hand so you’re not improvising with whatever sits under the sink.