
How to clay bar a car at home comes down to one simple goal, remove bonded contamination that washing leaves behind, so the paint feels smooth and your protection product actually sticks.
If your hood feels gritty after a wash, or you see tiny specks that won’t budge, you’re in the exact situation clay was made for, and doing it yourself can save time and frustration compared to chasing “perfect” results with harsher chemicals.
One quick reality check though, claying is not paint correction, it won’t remove swirls or scratches, and if you do it dry or with poor technique, it can add light marring that shows up in sun. The good news is you can avoid most mistakes with the right prep, plenty of lubrication, and a simple process.
What a clay bar actually does (and when it makes sense)
Clay pulls off bonded contaminants, think industrial fallout, rail dust, overspray mist, and embedded grime that sits above the clear coat. Washing removes loose dirt, clay targets what’s stuck.
Claying makes the surface feel slicker and helps wax, sealant, or ceramic sprays bond more evenly. If you’ve ever applied protection and it looked patchy or didn’t last, contamination is a common culprit.
- Best times to clay: before waxing/sealing, before polishing, after a harsh winter, after a long road trip, or when you feel roughness on horizontal panels.
- Times to skip or delay: when paint already looks heavily swirled and you’re not planning to polish, or when you can’t work in shade and the panel will bake your lube.
According to Meguiar’s... clay is part of surface preparation for removing above-surface bonded contaminants so protection and polishing steps can perform as intended.
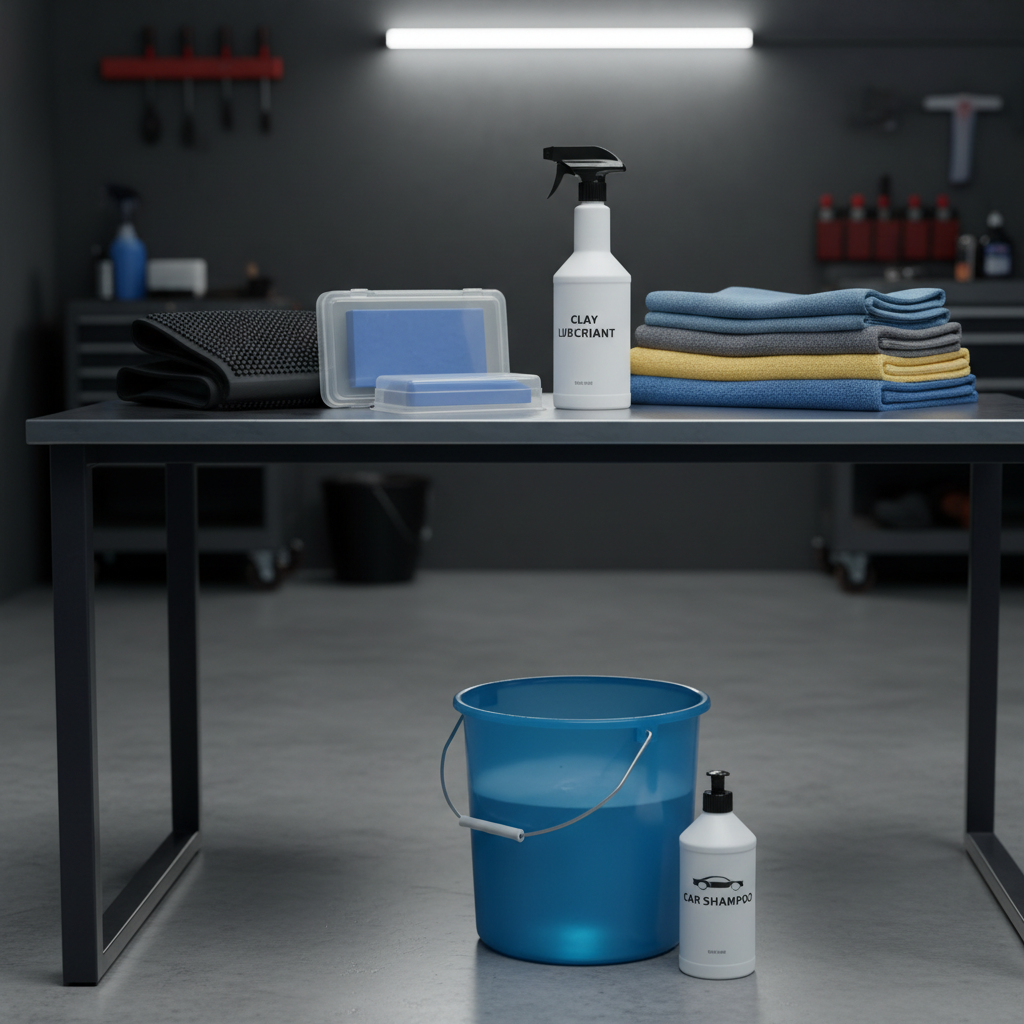
Tools and products you’ll want (plus a quick comparison table)
You don’t need a fancy setup, but you do need enough lubrication and a clean workflow, because most clay-related “damage” is really dirt getting dragged around.
- Clay option: traditional clay bar, synthetic clay mitt, or clay towel
- Lubricant: dedicated clay lube, or a compatible quick detailer (many brands make both)
- Wash supplies: shampoo, wash mitt, drying towel
- Decon add-ons (optional): iron remover for brake/rail dust, tar remover for asphalt spots
- Protection: wax, paint sealant, or ceramic spray for after you’re done
| Option | Feels like | Pros | Watch-outs |
|---|---|---|---|
| Traditional clay bar | Soft putty | Great feedback, inexpensive | If you drop it, toss it; can mar if aggressive |
| Synthetic clay mitt | Wash mitt with polymer face | Fast on large panels, easy grip | Needs lots of lube; can be “grabby” on dry paint |
| Clay towel | Microfiber towel with polymer side | Quick, easy to rinse clean | Edges can catch if you rush; quality varies by brand |
Quick self-check: do you really need to clay today?
Before you start, figure out whether claying will help or whether you’re chasing the wrong problem. This takes two minutes and saves a lot of overwork.
- Bag test: put your hand in a thin plastic sandwich bag and gently glide across clean paint, if it feels like sandpaper or tiny bumps, contamination is present.
- Visual cues: orange specks, black dots, or “freckles” that remain after washing and don’t come off with a gentle microfiber wipe.
- History cues: parked near rail lines/industry, lots of highway miles, winter salt and grime, or you haven’t decontaminated in a year.
If the paint feels smooth already, you might skip clay and go straight to your protection step. Over-claying a mostly clean car is where people create work they didn’t need.
How to clay bar a car at home: a safe step-by-step process
This is the method that tends to work in most driveways, with minimal risk, and without turning it into a weekend-long project.
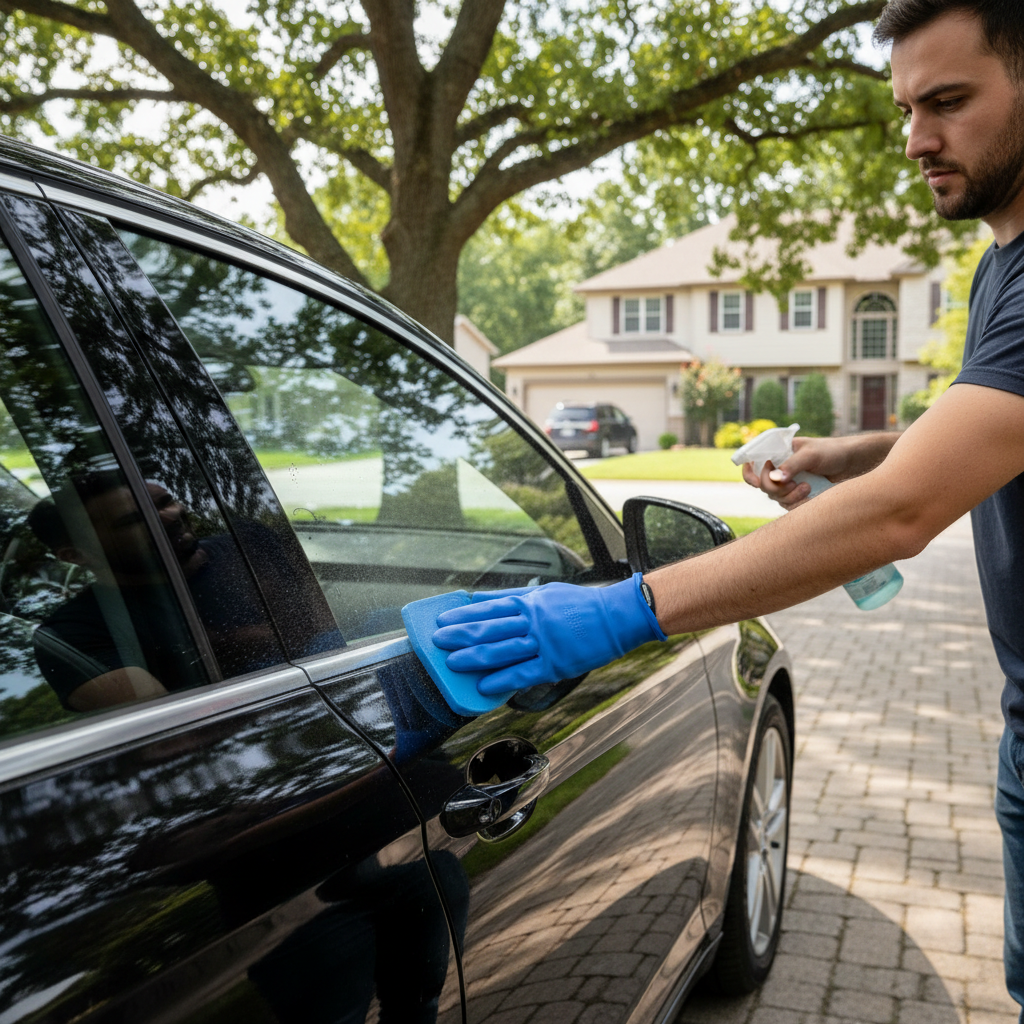
1) Wash thoroughly and dry (or leave slightly wet if your lube allows)
Start with a proper wash so the clay doesn’t pick up loose grit. Focus on lower doors, rocker panels, and behind wheels, those areas love to hide abrasive debris.
2) Work in shade on cool paint
Hot panels evaporate lubrication fast, and then clay starts to “chatter.” If you can’t avoid heat, work smaller sections and keep re-spraying lube.
3) Prepare the clay and choose a gentle grade
Flatten a piece of clay into a palm-sized patty. If you’re using a mitt or towel, rinse it and keep it clean. When you’re unsure, go with a finer grade, aggressive clay can remove contamination faster but it’s more likely to haze the finish.
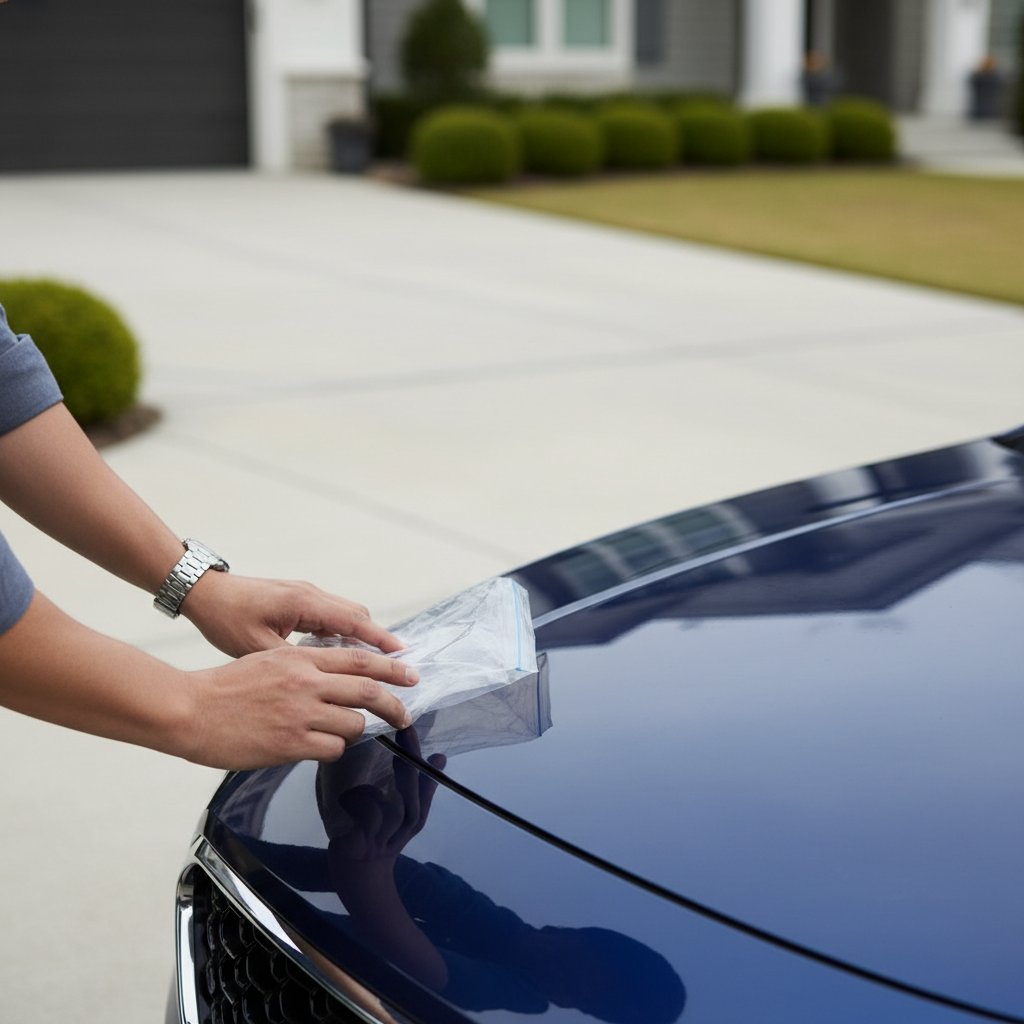
4) Lubricate heavily, then glide with light pressure
Spray a generous layer of lube on a 2 ft x 2 ft area. Glide the clay in straight lines, very light pressure, let the clay do the work. You’ll often feel it grab at first, then it smooths out once contamination clears.
- Pressure cue: think “guiding,” not “scrubbing.”
- Pattern cue: straight lines are easier to control than circles, especially on soft clear coats.
5) Check the clay face often and fold to a clean side
After each small section, inspect the clay. If you see dark specs, fold and knead to expose a clean surface. With a mitt/towel, rinse and wipe off grit before moving on.
6) Wipe residue and re-check smoothness
Buff the area with a clean microfiber towel. Do the bag test again on that section. If it’s still rough, repeat with more lube rather than more pressure.
7) Finish the whole car, then apply protection
Once the paint feels consistently smooth, apply your sealant, wax, or ceramic spray. This is where your effort pays off, protection lays down more evenly and tends to be easier to buff.
Practical tips that prevent marring (the stuff people learn the hard way)
The difference between a satisfying DIY and a “why does it look worse?” moment usually comes down to lubrication, cleanliness, and expectations.
- Use more lube than you think you need. If the clay starts to squeak or hop, stop and re-spray.
- Never clay a dirty car. Even light dust can act like sand under the clay.
- Don’t rush the lower panels. They’re the most contaminated and the most likely to cause scratches.
- If you drop a traditional clay bar, throw it out. Grit embeds and you may not see it.
- Plan your next step. If you notice light haze after claying, a finishing polish can usually refine it, but that’s a separate job.
According to 3M... surface preparation steps and using the correct materials help reduce the chance of introducing defects during paint-care processes.
Common mistakes (and what to do instead)
A lot of frustration comes from treating clay like a magic eraser. It’s more like careful surface prep, and it behaves better when you keep things gentle.
- Mistake: claying dry or “almost” dry
Do instead: keep the panel visibly wet with lube, reapply often. - Mistake: using dish soap as lube because it’s slippery
Do instead: use a dedicated clay lube or a brand-approved quick detailer, compatibility varies by product. - Mistake: pressing harder when it grabs
Do instead: slow down, add lube, and let the clay glide. - Mistake: claying around gritty badges/emblems without rinsing
Do instead: pre-rinse cracks and edges, or tape off delicate trim if you’re worried. - Mistake: stopping after claying and leaving paint unprotected
Do instead: apply protection the same day if possible, bare paint tends to re-contaminate faster.
When you should consider professional help
If your car has very soft paint, heavy existing swirl marks, or you’re dealing with overspray or industrial fallout that feels severe, a pro detailer can combine chemical decontamination, claying, and machine polishing in a controlled way.
Also, if you clay and the finish looks hazy in direct sun, a light polish may be the right follow-up, but polishing removes a tiny amount of clear coat, so it’s worth getting guidance if you’re unsure.
Key takeaways and a simple action plan
Key points: Clay removes bonded contaminants, it needs lots of lubrication, and the payoff shows up when you apply protection afterward. If you keep pressure light and your clay clean, the risk stays low for most DIYers.
- Do the bag test, if it feels gritty, plan to clay.
- Wash carefully, clay a small section at a time, then protect the paint the same day.
If you want a low-stress start, pick a fine-grade clay option plus a dedicated lubricant, work in shade, and focus on consistency over speed, your hands will tell you when the surface is ready.
FAQ
- How often should I clay bar my car at home?
Many daily drivers do fine with once or twice a year, but it depends on where you park and how much highway driving you do. If the paint stays smooth after washing, there’s no need to force it. - Can I use a clay bar on a ceramic-coated car?
Sometimes, yes, but it can reduce coating performance and may add light marring. Many people try a gentle wash plus chemical decon first, and clay only if the surface still feels rough. - Is a clay mitt safer than a traditional clay bar?
Not automatically. Mitts are convenient and easy to rinse, but they can still mar paint if you use too little lube or drag grit. “Safer” usually comes from technique, not the format. - What’s the difference between claying and polishing?
Claying removes stuff sitting on top of the clear coat. Polishing levels defects within the clear coat, like swirls and light scratches, so it changes the paint surface itself. - Do I need to do an iron remover before I clay?
It’s not required, but it often makes claying easier on cars with brake dust or rail dust contamination. Chemical decon can reduce how much mechanical claying you need. - Why does my paint feel rough again a few weeks later?
It can be environmental fallout, frequent highway driving, or lack of protection. A sealant or ceramic spray won’t stop contamination entirely, but it often slows bonding and makes future washes easier. - Can claying remove water spots?
Sometimes it helps if the “spots” are mineral deposits sitting on top of the surface, but etched water spots usually need polishing. If you’re unsure, test a small area first.
If you’re trying to figure out how to clay bar a car at home without buying a shelf of products, a simple kit approach usually works well: one reliable lubricant, a fine clay option, and a paint protectant you’ll actually reapply, it keeps the process predictable and the results easier to maintain.