
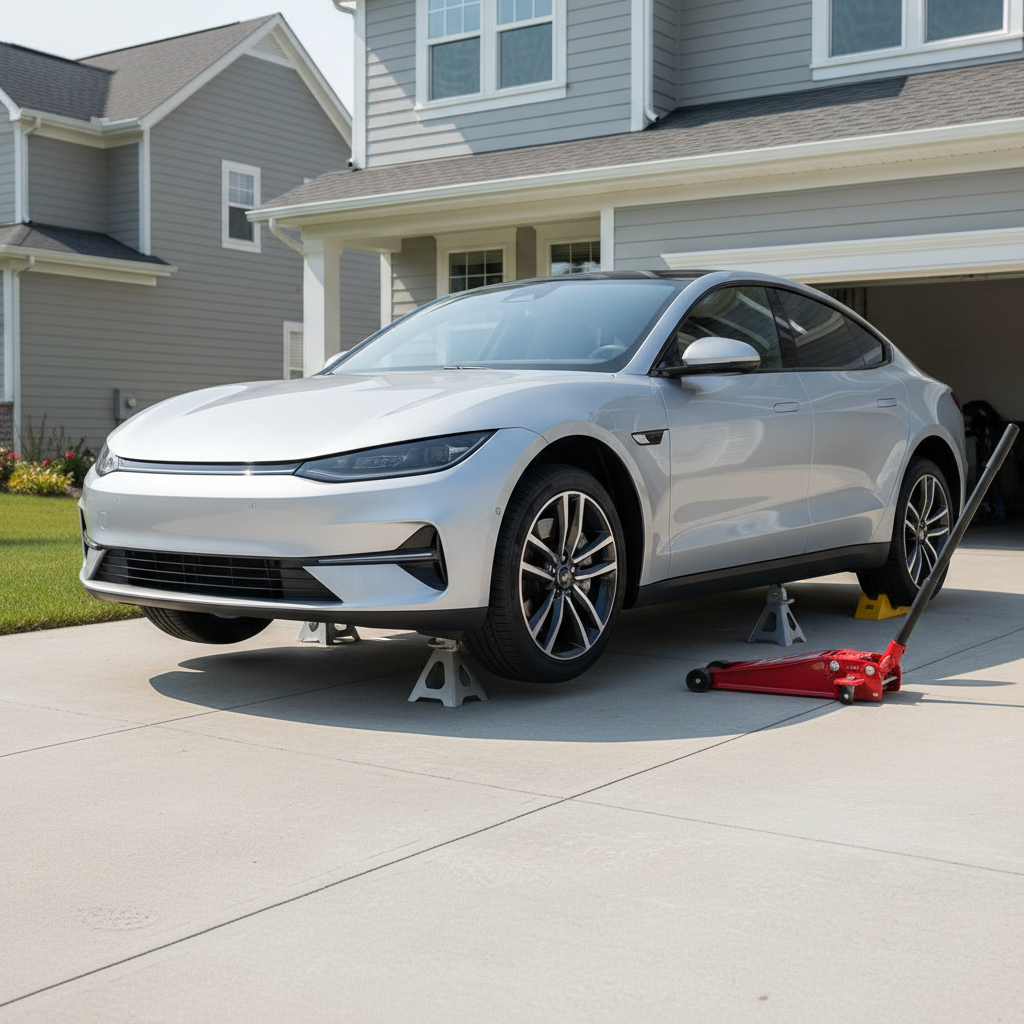
How to jack up a car safely starts with one idea: you’re not “lifting a car,” you’re creating a stable work platform that should stay put even if you bump the wheel, pull on a lug wrench, or the ground isn’t perfect.
Most at-home accidents happen from small shortcuts, a jack used on the wrong spot, a sloped driveway, or someone trusting the jack alone. If you only take one thing from this guide, let it be this: a floor jack lifts, jack stands hold.
I’ll walk you through setup, safe jack points, the lift sequence, and quick checks that catch mistakes early. You’ll also get a simple table to match tool choices to common jobs, plus a checklist you can reuse every time.
What you need before you lift anything
You can jack up a car with the factory scissor jack in a pinch, but for home maintenance, a few basics make the difference between “fine” and actually stable. Most people don’t need fancy gear, they need the right match of capacity, contact surface, and support.
- Hydraulic floor jack (typical 2–3 ton for many passenger cars and small SUVs, but always match your vehicle)
- Jack stands (a pair, rated appropriately, with a solid saddle)
- Wheel chocks or wood blocks to stop rolling
- Gloves and a flashlight so you can clearly see jack points
- Lug wrench or breaker bar if you’re removing wheels
- A flat, hard surface (concrete is ideal; asphalt can soften in heat)
According to NHTSA, proper jack use and stable support are key to preventing vehicles from falling during roadside or at-home tire changes. If any part of your setup feels improvised, pause and reset instead of “making it work.”
Quick tool-to-job table
| Job | Recommended lift | Support method | Common risk |
|---|---|---|---|
| Tire change | Floor jack or factory jack | Jack stand if working longer than a quick swap | Vehicle shifts while loosening lug nuts |
| Brake pads/rotors | Floor jack | Always use jack stands | Relying on jack alone |
| Oil change (front lift) | Floor jack or ramps | Jack stands if jacking, ramps if used correctly | Wrong jacking point damages underbody |
| Suspension work | Floor jack | Jack stands + extra stability checks | Uneven load, stand placement off-center |
Why cars slip off jacks at home (and how to prevent it)
When someone says “the jack failed,” it’s often a setup problem. Jacks can leak down, roll, or tilt if the load isn’t straight and centered. And modern cars have lots of plastic underbody panels that hide the real lift points.
- Wrong jack point: lifting on thin sheet metal, plastic covers, or an angled surface can let the jack cup slip.
- Unlevel ground: even a slight slope can start a slow roll once a tire is off the ground.
- No wheel chocks: parking pawl and parking brake help, but chocks are the real “stop.”
- Jack stands set too high/low: rushed height adjustments lead to unstable contact.
- Loosening lug nuts too late: cranking hard on a suspended wheel can rock the car.
If you’re learning how to jack up a car safely, treat stability like a system: ground, chocks, correct point, controlled lift, then stands. If one piece is missing, the whole thing feels sketchy.
Find the right jack points (don’t guess)
Your owner’s manual usually shows jack points with simple diagrams. Use that. Many vehicles have reinforced pinch weld areas along the rocker panel, plus central lift points on the front subframe or rear differential housing, but it varies by model.
Common safe lift areas (vehicle-dependent)
- Pinch welds: reinforced notches behind the front wheels and ahead of the rear wheels.
- Front subframe/crossmember: often used to lift the front end centrally.
- Rear differential (RWD/AWD): sometimes acceptable for a center rear lift if the manual indicates.
- Dedicated jack pads: some cars have labeled plastic or rubber pads designed for jacks and stands.
Avoid lifting on oil pans, exhaust components, floor pans, or suspension arms unless the manufacturer specifically calls them out. If you can’t clearly identify a safe point, it’s a sign to slow down, look up your model’s diagram, or ask a professional shop for guidance.
Step-by-step: how to jack up a car safely at home
This sequence is intentionally boring. That’s good. Boring is what you want when a couple thousand pounds is above the ground.
1) Set up the car so it can’t move
- Park on flat, hard ground, avoid gravel or soft asphalt when possible.
- Put the transmission in Park (or in gear for manual).
- Set the parking brake.
- Place wheel chocks on the opposite end from the side you’re lifting.
2) Pre-loosen lug nuts (if removing a wheel)
Before the tire leaves the ground, break lug nuts loose about a quarter turn. This reduces the side load that can tip a car on stands later. Don’t remove lug nuts yet.
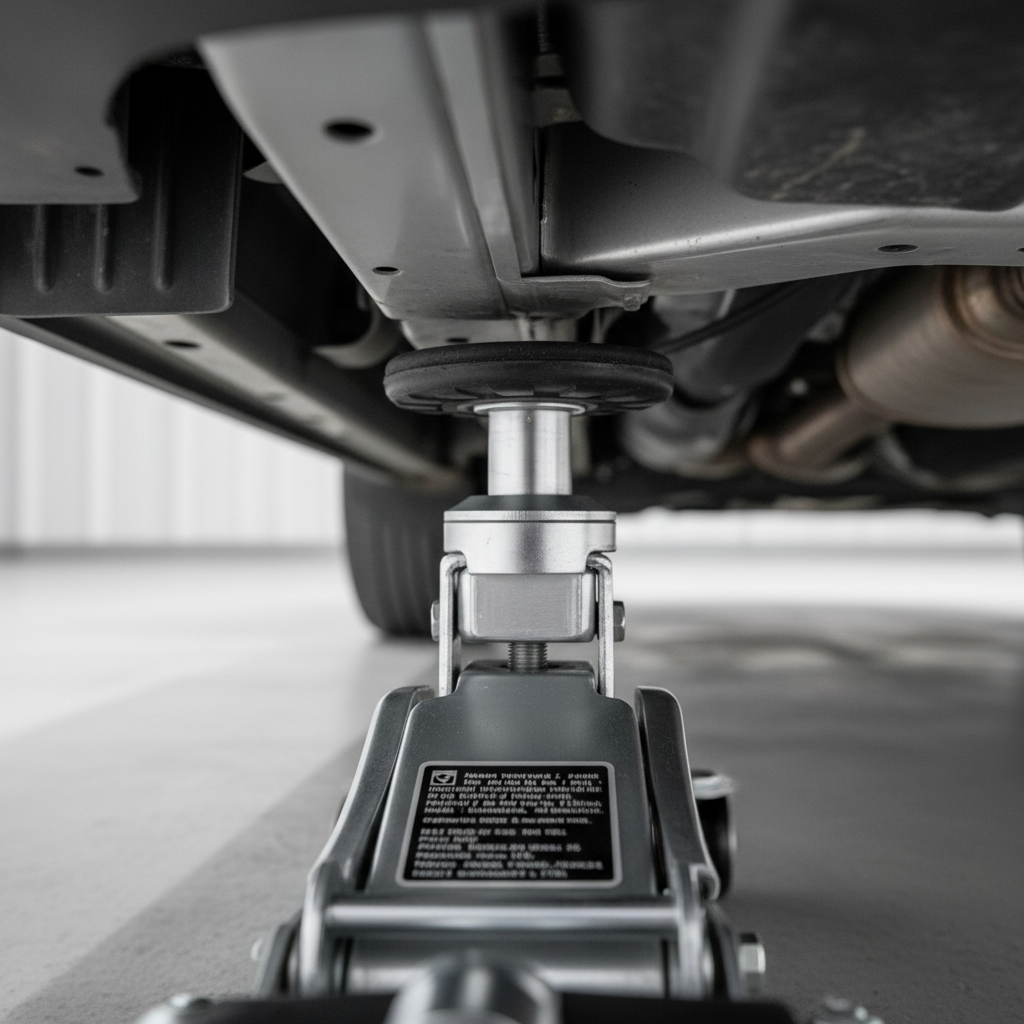
3) Position the floor jack
- Center the jack saddle under the correct point, confirm metal-to-metal contact.
- Make sure the jack can roll slightly as the suspension droops; don’t block its wheels.
4) Lift slowly and watch for tilt
Pump the jack and keep an eye on the saddle. If it starts walking off the point or the car leans unexpectedly, lower it and reset. This is where most “almost accidents” get caught.
5) Place jack stands and lower onto them
- Set stands under approved support points, not under plastic trim.
- Raise stands to a sensible height, keep both sides even.
- Lower the car onto the stands until the weight sits on them, then leave the jack lightly touching as a backup if possible.
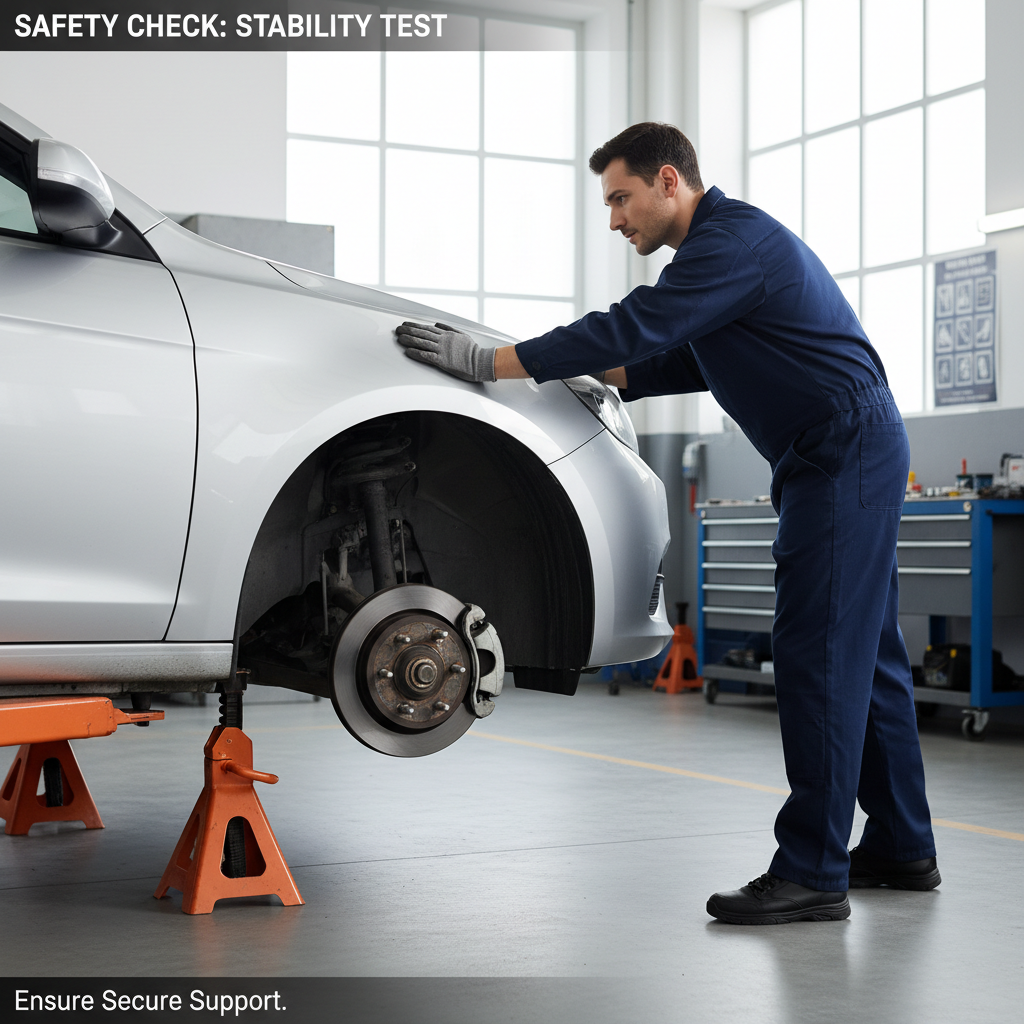
6) Do a stability check before you work
Give the car a gentle push at a sturdy point. You want “solid,” not “wobbly.” If anything shifts, lift again and reposition. This is the moment that turns how to jack up a car safely from theory into reality.
Quick self-check: are you in a safe setup or a risky one?
- Surface check: flat concrete, no slope, no soft spots.
- Movement check: chocks in place, parking brake set, car doesn’t creep.
- Contact check: jack cup fully seated on a reinforced point, not on a seam edge or cover.
- Support check: stands under structural points, both sides stable, pins/locks engaged.
- Working check: you can loosen/tighten fasteners without rocking the car.
If you fail any one of these, fix that first. It’s almost never worth “just finishing this one thing.”
Common mistakes that look harmless (until they aren’t)
- Working under a car supported only by a jack: hydraulic jacks can drift down or tip if bumped.
- Using cinder blocks: they can crumble without warning. Use rated jack stands.
- Jacking on a slope “just a little”: once a tire is off the ground, the balance changes fast.
- Forgetting to re-check after you remove a wheel: weight shifts, stands may settle.
- Rushing the lowering step: dropping onto stands can knock them out of position.
According to OSHA, employers are expected to provide and use properly rated support equipment for lifting and supporting loads, and while home garages aren’t regulated the same way, the logic carries over: use equipment designed for the job, and use it as intended.
When to stop and get professional help
There’s no shame in outsourcing the risky part. In a few situations, the safest move is to have a shop handle it, or at least show you the correct lift points once.
- You can’t identify jack points confidently, and the manual isn’t clear.
- The driveway is sloped, uneven, or the only surface available is soft ground.
- You need to lift the car high for extended work, or you’ll be applying heavy force to stuck fasteners.
- Your jack or stands show damage, missing pins, leaking hydraulics, or bent saddles.
If you suspect any equipment defect, replace it rather than “testing your luck.” When in doubt, a local mechanic or tire shop can usually advise quickly, and for complex jobs it may be safer to book service.
Key takeaways and a simple next step
Key points: use a flat surface, chock wheels, lift only at approved jack points, and let jack stands carry the weight before you put your hands anywhere near the underside. That’s the core of how to jack up a car safely.
If you want an easy next step, pull up your vehicle’s owner’s manual diagram, then do a dry run: locate the lift points with a flashlight, place the jack without lifting, and confirm everything lines up. That small rehearsal makes the real lift calmer and cleaner.
FAQ
- Can I jack up a car on asphalt?
Often yes, but hot or soft asphalt can let a jack or stand sink. If you must, consider a sturdy load-spreading pad designed for jacks, and re-check stability as you lift. - Is it safe to use the factory scissor jack for maintenance?
It’s typically intended for emergency tire changes. For longer work at home, a floor jack and jack stands are usually more stable and easier to control. - Where do I put jack stands after lifting at the pinch weld?
Many cars allow stands at reinforced pinch-weld areas or nearby structural points. Because placement varies, the owner’s manual is the safest reference. - Do I really need wheel chocks if the parking brake is on?
In many cases, yes. Parking brakes and Park help, but chocks add a simple physical stop that reduces creeping when the car shifts during lifting. - Should I loosen lug nuts before or after lifting?
Usually before lifting, with the tire still on the ground. That prevents rocking the vehicle while it’s supported. - How do I know my jack stands are locked correctly?
Confirm the ratchet/pin mechanism is fully engaged and both stands are at stable, matching heights. If anything feels half-seated, lower the car and reset. - What if my car has a plastic underbody cover where the jack point should be?
Some covers have access cutouts, others require positioning at a different specified point. If you can’t see solid structure, don’t lift there; check the manual or ask a professional.
If you’re working on brakes, tires, or oil at home and you want a more stress-free setup, it can help to choose a floor jack and jack stands that match your vehicle’s weight and clearance, then practice the lift and stand placement once before you start the real job.