
How to clean car dashboard plastic without cracks comes down to two things most people skip: using the right cleaner (not a harsh degreaser) and finishing with light protection so the surface does not dry out.
Dashboard plastics and vinyl look tough, but they scratch easily, haze with the wrong chemical, and can turn sticky or chalky after repeated “quick wipe” routines. If you have ever cleaned your dash and ended up with shiny patches, white streaks, or tiny spiderweb lines, you are not alone.
This guide focuses on realistic, low-risk methods: what causes cracking in the first place, a quick self-check to figure out what your dash needs, and a step-by-step process you can repeat weekly without overthinking it.
Why dashboard plastic cracks (and why “cleaning” can speed it up)
Most cracking is not from one bad wipe, it is a slow combo of heat, UV, and the surface drying over time. Cleaning habits can either slow that down, or quietly accelerate it.
- UV and heat cycling: Sun bakes the top layer, then it cools, repeat. Over time the plasticizers that keep the surface flexible migrate out.
- Harsh cleaners: Strong degreasers, ammonia, bleach, and high-alcohol sprays can strip oils and dull the finish, sometimes leaving haze or tackiness.
- Abrasive wiping: Paper towels and rough rags create micro-scratches that look like “cracks” under light, especially on textured dashboards.
- Over-application of shiny dressings: Heavy silicone-based shine can attract dust and require more scrubbing later, which is where damage happens.
According to the U.S. Environmental Protection Agency (EPA), indoor environments can accumulate chemicals from cleaning products and other sources, so choosing milder, low-odor products and ventilating the cabin is usually a sensible move during interior cleaning.
Quick dashboard check: what you’re dealing with before you start
Before you grab any bottle, take 60 seconds to identify the surface and the problem, it saves you from using the wrong approach.
A simple “look and touch” checklist
- Dust-only dash: Looks dull, dust transfers to your finger, no sticky feel.
- Oily film: Slight sheen even when dusty, often from off-gassing, hands, or previous dressings.
- Sticky/tacky surface: Common after strong cleaners or some dressings; needs gentle removal, not aggressive solvents.
- Haze/white streaking: Often product residue or minerals from a damp wipe that dried on the surface.
- Real cracking vs micro-marring: Cracks catch a fingernail; micro-marring looks like fine lines only at certain angles.
If you suspect the dash is leather-wrapped (some trims are), treat it as leather and use a leather-safe cleaner/conditioner, because interior leather reacts differently than plastic or vinyl.
Tools and products that are usually safe (plus what to avoid)
You do not need a cabinet of detailing chemicals, but you do need to avoid a few common “household shortcuts.” Here is a practical lineup that works for many vehicles.
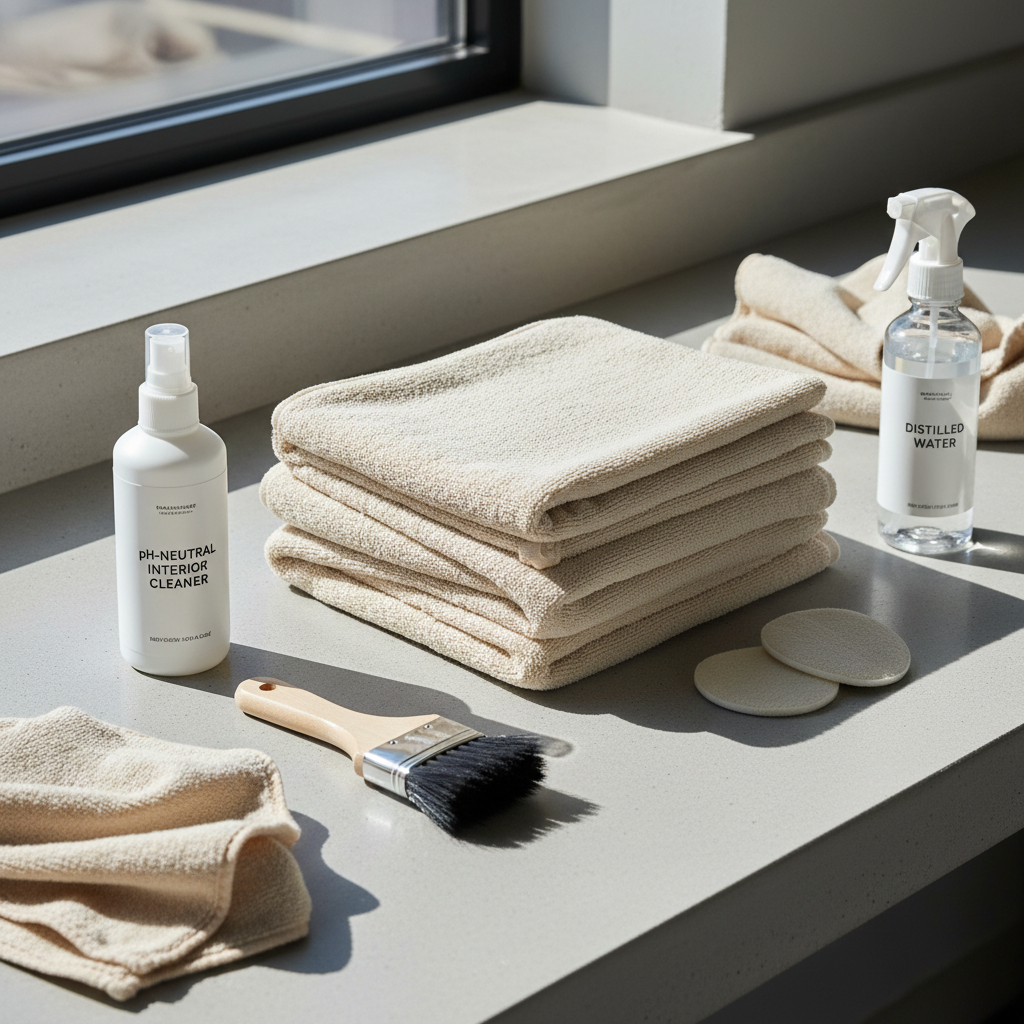
Recommended basics
- 2–3 microfiber towels: One for cleaning, one for buffing dry, one spare.
- Soft detailing brush: For vents, seams, graining.
- pH-neutral interior cleaner: Labelled for plastic/vinyl, ideally non-greasy, low shine.
- Distilled water: Helps prevent mineral streaks when you need a damp wipe.
- UV protectant (matte/satin): A light protectant can slow drying and fading.
What to avoid on most dashboards
- Ammonia-based glass cleaner: Can haze plastics and dry surfaces over time.
- Bleach or strong disinfectants: Overkill for routine cleaning, higher risk of discoloration.
- High alcohol content sprays: May dry out vinyl/plastic and can leave blotchy areas.
- Magic erasers/melamine foam: They work by abrasion; can burnish texture and create shiny patches.
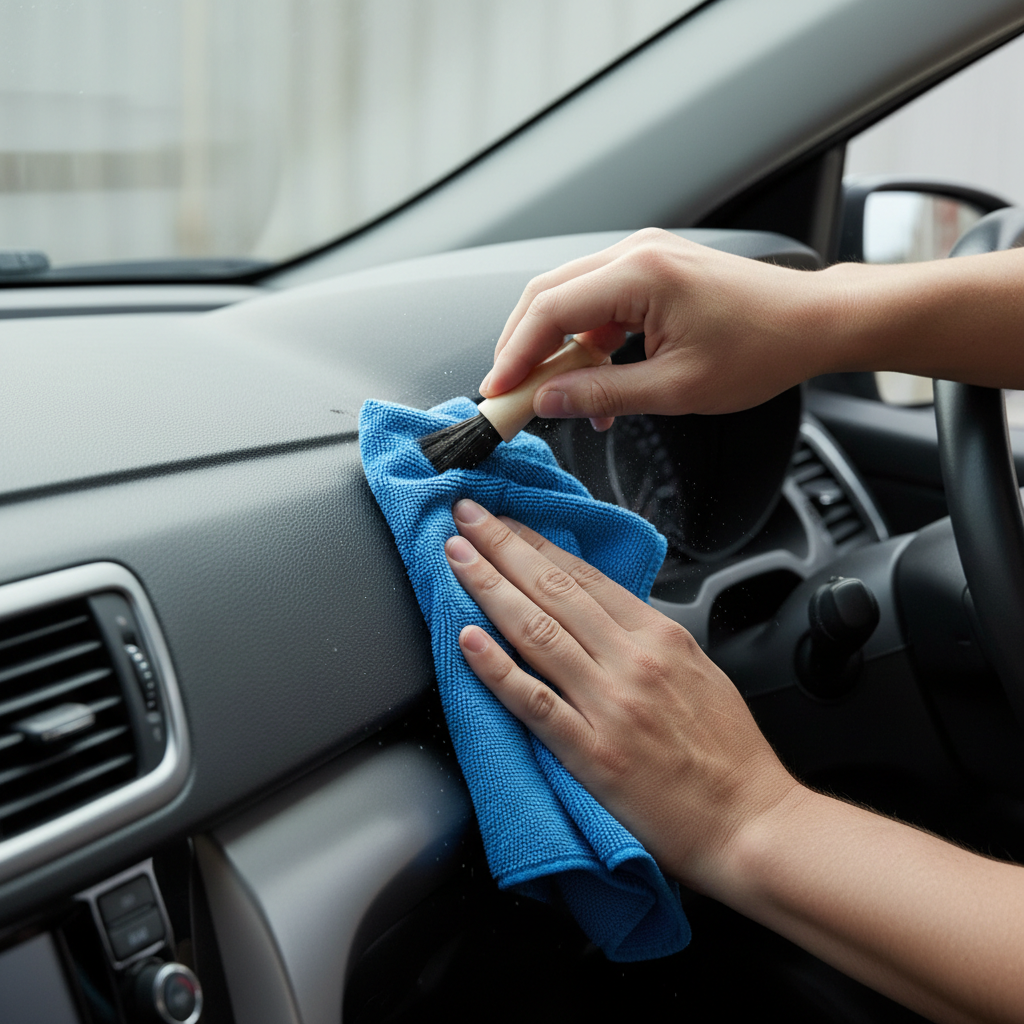
Step-by-step: clean dashboard plastic safely (no scrubbing drama)
If your goal is “clean and original-looking,” the trick is to do less liquid and more gentle agitation, then fully remove residue.
1) Cool the cabin and remove loose dust
Park in shade and let the dash cool. Start with a dry microfiber or a soft brush to lift dust from seams and vents, because wet wiping turns dust into grit.
2) Spray product on the towel, not on the dash
Lightly mist your microfiber with interior cleaner. Wipe in small sections, using light pressure. This reduces overspray into screens, instrument clusters, and speaker grilles.
3) Use a brush only where texture holds grime
For grained plastic, dip the brush tips into a lightly sprayed towel or mist the brush once, then gently agitate. Immediately follow with the towel to pick up what you loosened.
4) Rinse-wipe if residue shows up
If you see streaking, do a quick pass with a second towel dampened with distilled water, then buff dry. Many “bad cleaner” complaints are actually leftover residue.
5) Apply a thin protectant layer (optional, but smart)
Use a matte or satin UV protectant, a small amount on an applicator or towel, then spread thin and even. Let it sit a minute, then buff. The finish should look natural, not glossy.
Key point: Clean does not mean squeaky. A dash that feels slightly dry-to-the-touch but not chalky is usually the sweet spot.
Fix common problems: sticky dash, streaks, and “tiny cracks”
This is where people tend to panic and over-correct. Match the fix to the symptom.
Sticky or tacky dashboard
- Start with a pH-neutral interior cleaner, multiple light passes, and frequent towel flips.
- Follow with a distilled-water wipe to remove cleaner and dissolved residue.
- Avoid solvent-heavy removers unless the product explicitly says it is safe for automotive interior plastics.
White streaks or haze
- Buff with a clean dry microfiber first; sometimes it is just dried residue.
- If it persists, do a distilled-water wipe, then dry immediately.
- Reapply protectant very lightly to even out appearance, if needed.
Fine lines that look like cracking under sunlight
- Often micro-marring from wiping; reduce pressure and upgrade towels.
- A matte protectant can reduce the visual contrast, but it will not “heal” real cracks.
- If a fingernail catches, treat it as actual cracking and focus on prevention, not aggressive cleaning.
What to use when: a quick product choice table
If you are unsure what to grab, this table keeps it simple. Always spot-test in a hidden area, because plastics vary by make, model, and trim level.
| Situation | What to use | What to avoid | Notes |
|---|---|---|---|
| Weekly dust + fingerprints | Dry microfiber, then light interior cleaner | Soaking wet wipes | Less moisture reduces streaks and drip marks |
| Oily film buildup | pH-neutral interior cleaner + soft brush in texture | Strong degreaser | Multiple gentle passes beat one aggressive scrub |
| Streaks after cleaning | Distilled water wipe + dry buff | More dressing to “hide it” | Residue removal is usually the fix |
| Sun-faded, dry look | Matte UV protectant, thin layer | High-gloss silicone shine | Gloss tends to attract dust and glare |
| Sticky/tacky feel | Mild cleaner, repeated light wipes, ventilate | Alcohol-heavy sprays | If it persists, the previous coating may be breaking down |
Prevent cracks long-term: small habits that actually matter
Cleaning helps, but prevention does more. If your dash sits in direct sun daily, the “right cleaner” only goes so far.
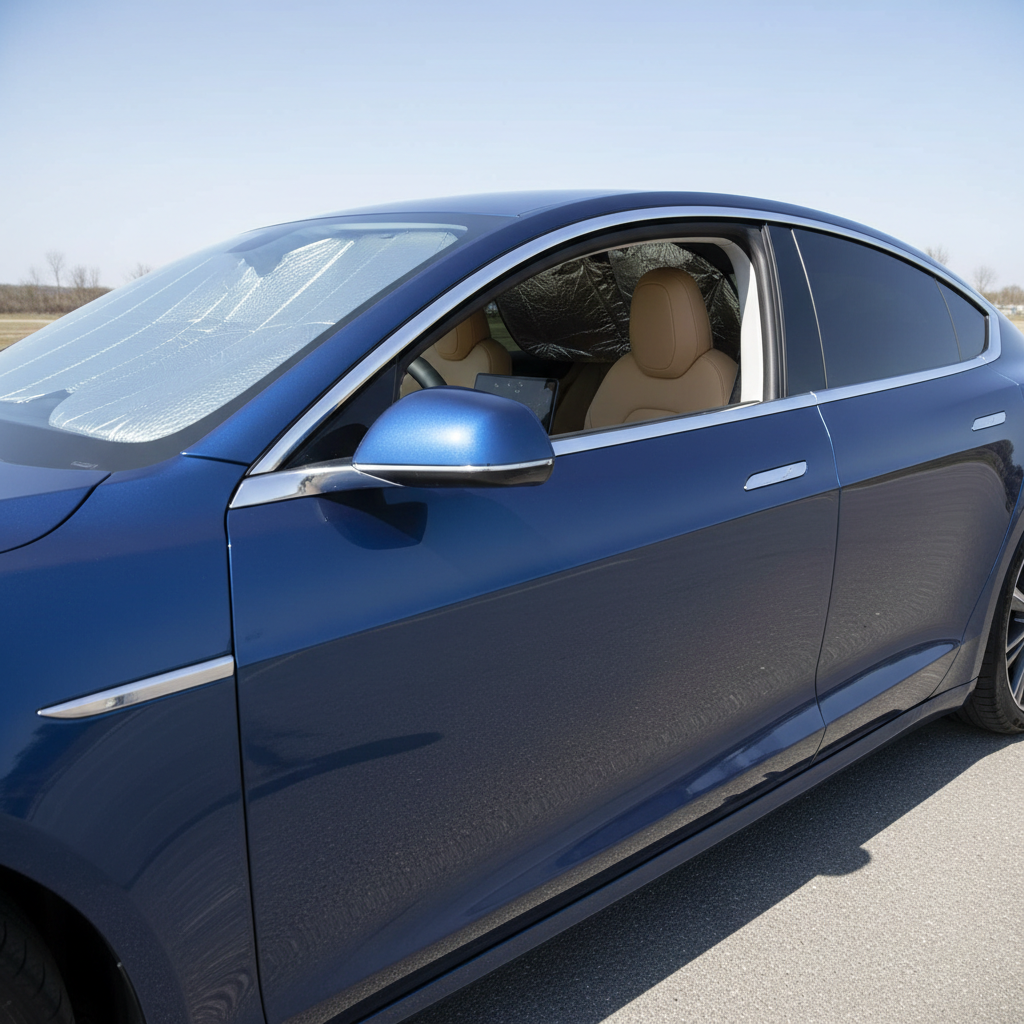
- Use a windshield sunshade when parked for long stretches, especially in summer.
- Keep it matte: Lower shine usually means less glare and less product buildup.
- Do light maintenance more often: Frequent gentle wiping reduces the need to scrub later.
- Control cabin heat when possible: Vent shades or crack windows safely in extreme heat, if your situation allows.
- Skip household shortcuts: If a product is meant for kitchen grease, it is rarely kind to textured automotive plastics.
Safety notes and when it’s worth getting professional help
Ventilate the cabin while cleaning and avoid mixing chemicals. If you are sensitive to fragrance or cleaning fumes, wearing gloves and keeping doors open usually helps, and in some situations you may want to consult a professional detailer who can use controlled products and methods.
If your dashboard has airbag seams, avoid flooding that area with liquid, and do not push brushes into gaps. Also be careful around infotainment screens and instrument clusters, many require screen-safe cleaners and very soft towels.
When to consider professional help: deep sticky coatings that keep returning, widespread cracking, or severe fading. At that point you may be looking at refinishing, replacement panels, or specialized interior restoration products that need careful application.
Conclusion: a clean dash should look boring (in a good way)
The best result is usually a factory-looking, low-glare finish, not a shiny dashboard that feels slick. If you take one action today, switch to microfiber and a mild interior cleaner, then add a thin UV protectant layer after you remove residue.
If you keep the routine gentle and consistent, how to clean car dashboard plastic stops being a stressful project and turns into a five-minute habit that helps your interior age more slowly.
FAQ
What is the safest way to clean a car dashboard plastic surface?
Use a microfiber towel and a pH-neutral interior cleaner made for plastic/vinyl, applying it to the towel instead of spraying the dash. Spot-test first, especially on soft-touch trims.
Can I use Dawn dish soap to clean my dashboard?
In a pinch, a very diluted drop in water can remove grime, but it can leave residue and is not designed for automotive interior finishes. If you use it, follow with a distilled-water wipe and dry buff, then consider a light protectant.
Does alcohol crack dashboard plastic?
High-alcohol products may dry out some plastics or leave blotchy areas, particularly with frequent use. If you need disinfecting for a specific reason, use a product labeled safe for automotive interiors and ventilate well.
Why does my dashboard look streaky after I clean it?
Most streaks come from leftover cleaner or minerals in tap water. A distilled-water wipe followed by a dry microfiber buff solves many cases without changing products.
How often should I apply UV protectant to prevent cracking?
It depends on sun exposure and the product, but many drivers find a light application every few weeks works well. If the dash starts attracting dust or looks shiny, you are probably using too much.
What should I use to clean around buttons, vents, and textured areas?
A soft detailing brush with minimal cleaner works better than soaking that area. Gently agitate, then immediately wipe with a microfiber so loosened dirt does not dry back into the texture.
How can I tell if I’m seeing real cracks or just scratches?
If your fingernail catches, it is more likely a true crack. If it only appears at certain angles under sunlight, it is often micro-marring from wiping, and changing towels and technique can prevent it from getting worse.
If you are trying to keep an older interior looking clean without experimenting with random sprays, a simple interior-cleaning kit with microfiber towels, a mild cleaner, and a matte UV protectant is usually the most stress-free route, and it keeps you consistent week to week.