
How to replace car wiper motor linkage is usually the fix when your wipers move slowly, clunk, park in the wrong spot, or one arm quits while the motor still sounds like it’s trying.
The reason this job matters is simple: bad wiper linkage turns a small annoyance into a visibility problem fast, especially in heavy rain or slushy winter weather. Most of the time, the motor is fine, but the linkage joints wear, pop off, or bind up.
Also, people often replace wiper blades over and over, even swap a motor, and still get skipping or uneven motion. This guide focuses on diagnosing the linkage, choosing the right replacement, and installing it cleanly so the arms sweep evenly and park correctly.
What the wiper motor linkage does (and what “failed” looks like)
The wiper system has three main pieces: the wiper motor (provides rotation), the wiper transmission/linkage (converts rotation to back-and-forth sweep), and the wiper arms (hold blades). Linkage failure typically shows up as play, binding, or a joint that has separated.
- One wiper moves, the other doesn’t: a linkage joint may be disconnected on one side.
- Wipers stop mid-wipe: linkage binds, motor overloads, or a pivot seizes.
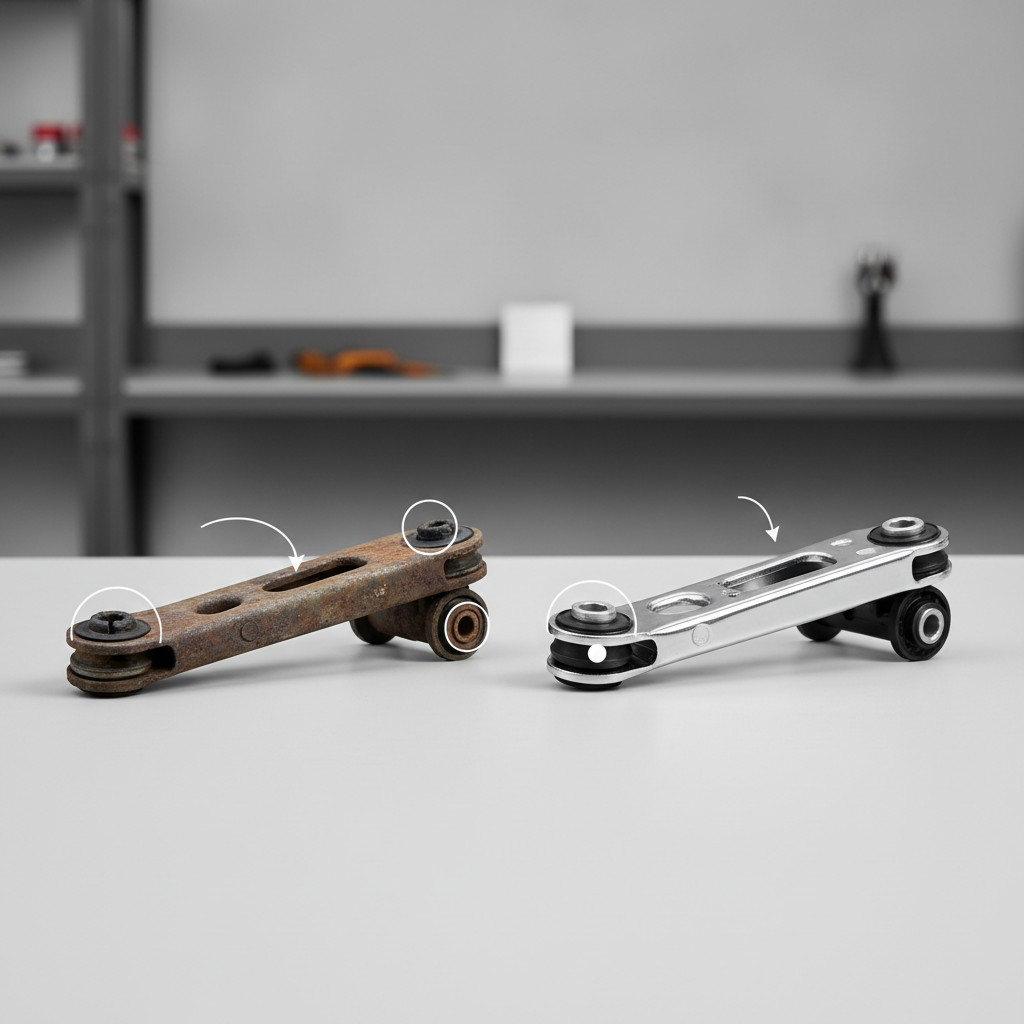
- Clunking/knocking: worn bushings or loose joints.
- Wipers “park” wrong: arms installed on wrong splines, or linkage timed incorrectly (varies by vehicle).
According to NHTSA, functioning windshield wipers are a core safety item because visibility directly impacts crash risk, so if your wipers fail intermittently, treat it as a priority repair rather than a “later” project.
Quick diagnosis: is it the linkage, the motor, or something else?
Before you buy parts, spend five minutes confirming what’s actually failing. This is where many DIY repairs go sideways.
Fast self-check list
- Listen for the motor: if you hear the motor running but the arms don’t move, the linkage or arm splines are likely the issue.
- Check the arm nuts: pop the plastic caps at the arm bases, confirm the nuts are tight. Loose nuts can mimic linkage failure.
- Look for uneven motion: one arm lagging often points to a worn joint or pivot resistance.
- Check for binding (carefully): with wipers off and key out, gently move an arm by hand. Excess slack can mean worn linkage; severe stiffness can indicate seized pivots.
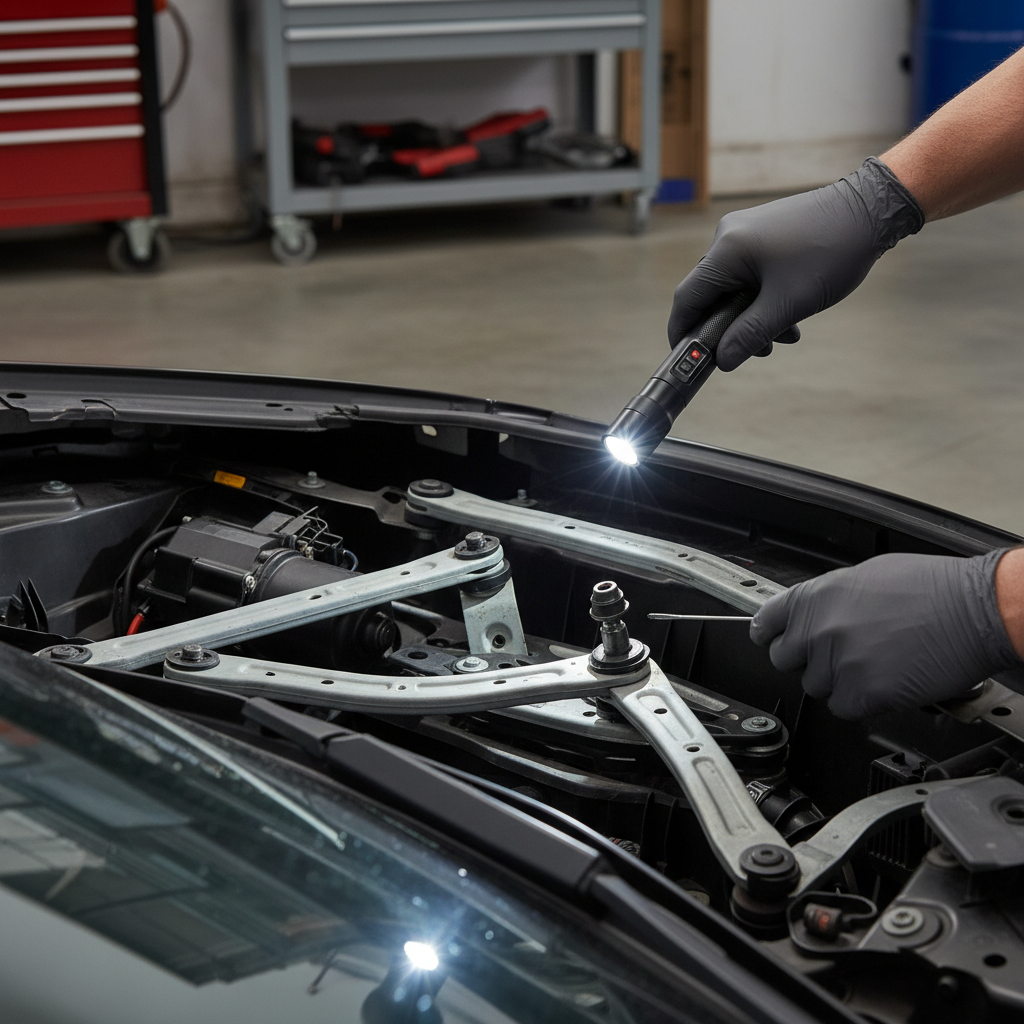
- Inspect under the cowl: many vehicles require removing the cowl cover to see the transmission. If a ball-and-socket joint is popped off, you’ll usually spot it quickly.
If the motor is silent and fuses are fine, you may be looking at an electrical issue, switch issue, or motor failure. If the linkage moves but the arms don’t, the arm splines may be stripped, which is a different fix.
Tools, parts, and time: what you’ll realistically need
Most linkage replacements are straightforward, but the cowl area can be cramped and brittle on older cars. Plan on extra time if clips break or the wiper arms are stuck on the splines.
Typical tools
- Socket set (often 10mm–15mm), ratchet, extensions
- Trim clip removal tool or flat plastic pry tool
- Needle-nose pliers
- Torque wrench (recommended for wiper arm nuts)
- Wiper arm puller (sometimes optional, sometimes the only way)
- Marker or masking tape for alignment marks
Parts shopping table (quick guide)
| Item | What to match | Common pitfall |
|---|---|---|
| Wiper linkage / transmission | Year/make/model/trim, LHD vs RHD, body style | Similar-looking part with different mounting points |
| Linkage bushings (if sold separately) | Joint size and style | Replacing only bushings when pivots are seized |
| Cowl clips / fasteners | OEM-style clip type | Reusing brittle clips leads to rattles and water leaks |
| Wiper arm nuts/caps (optional) | Thread pitch, cap shape | Over-tightening strips splines or studs |
How to replace the wiper motor linkage: step-by-step (DIY-friendly)
Exact fasteners and access vary a lot by vehicle, but the workflow stays consistent. If you can, pull up a factory service manual or a reliable repair database for your model so you don’t miss hidden screws or clip locations.
1) Prep and safety
- Park on level ground, turn ignition off, remove the key.
- If your wipers are stuck mid-sweep, don’t force them; you’ll handle alignment later.
- Consider disconnecting the negative battery cable if your hands will be near the wiper motor connector and wiring.
2) Mark the wiper arm positions
- Use masking tape on the windshield to mark where each blade rests.
- This saves you from the classic “wipers park too high” problem after reassembly.
3) Remove wiper arms
- Pop the plastic caps, remove the retaining nuts.
- Rock the arms gently; if they won’t budge, use a wiper arm puller.
4) Remove the cowl cover and weather strip
- Remove the hood-to-cowl rubber seal if present.
- Use a trim tool to lift clips without chewing up plastic.
- Watch washer hose routing; disconnect carefully if needed.
5) Access the motor + linkage assembly
- Unplug the wiper motor electrical connector.
- Remove mounting bolts holding the transmission/linkage frame.
- Lift the assembly out gently; pivot studs can snag on the body openings.
6) Separate the motor (if your replacement requires it)
- Some cars sell the linkage as an assembly; others reuse the motor.
- Mark orientation before unbolting the motor from the linkage bracket.
7) Install the new linkage and confirm smooth movement
- Transfer the motor if required, then install the linkage assembly into the cowl.
- Hand-start all bolts to avoid cross-threading, then tighten evenly.
- Before reinstalling arms, plug the motor in and “cycle” the system once to let it find its park position.
8) Reinstall wiper arms and set alignment
- With the motor parked, install arms aligned to your tape marks.
- Tighten arm nuts to spec if available; avoid over-torque because splines can strip.
9) Reassemble cowl and test
- Reinstall cowl cover, weather strip, washer hose, and clips.
- Test low/high speed and washer function, confirm there’s no cowl interference.
Practical tips that prevent comebacks (and rework)
This repair isn’t hard, but it’s easy to finish with annoying symptoms if you rush the little checks.
- Don’t grease random joints unless the part calls for it: some linkages use sealed joints; adding grease can attract grit and speed up wear.
- Check pivot shafts for stiffness: if a pivot is partially seized, it can kill a new linkage early or overload the motor.
- Cycle the motor with arms off: this is the cleanest way to avoid wrong park position.
- Mind water management: cowl seals and clips keep water from going places it shouldn’t. Missing clips can mean leaks into the cabin on some models.
Common mistakes and how to avoid them
- Skipping the arm alignment marks: you’ll spend more time correcting the park position than the whole replacement would have taken.
- Assuming the motor is bad: a running motor with no sweep is often a linkage disconnect or stripped arm splines.
- Breaking cowl clips and calling it “fine”: rattles and water intrusion are common afterthoughts.
- Ignoring a seized pivot: the new linkage may work briefly, then slow down or fail again.
- Testing dry on a dirty windshield: friction increases load; when you test, use washer fluid to reduce drag.
When it’s smarter to get professional help
If you’re comfortable with trim removal and basic hand tools, replacing a linkage is usually within reach. But a few situations deserve caution.
- Airbag-related cowl components: some vehicles have sensors or wiring near the cowl area. If you’re unsure, a shop can help.
- Severely corroded fasteners: snapped studs and stripped threads can turn into a longer repair.
- Wiper timing issues after installation: if the motor parks unpredictably, there may be a control module or switch problem, diagnosis may require wiring diagrams.
- Cracked windshield risk: stuck wiper arms plus aggressive prying is a bad mix, a puller reduces the risk but a pro may still be safer.
According to AAA, staying ahead of basic vehicle maintenance helps reduce roadside issues; if your wipers fail during a storm and you’re not confident in the fix, scheduling a professional repair is often the safer call.
Key takeaways before you start
- Confirm the failure mode so you don’t replace the wrong part.
- Mark arm positions, then cycle the motor to park before final arm installation.
- Inspect for binding at pivots; that detail often explains repeat failures.
- Reassemble the cowl carefully because it affects noise and water sealing.
Conclusion
If your wipers sound like they’re working but don’t sweep correctly, learning how to replace car wiper motor linkage can restore reliable visibility without chasing the wrong part. Take your time on diagnosis and alignment, those two steps decide whether the job feels “easy” or turns into an afternoon of rework.
If you’re doing this weekend, pick up a couple extra cowl clips, mark your arm positions, and plan to test with washer fluid, then you’ll usually end up with smooth, quiet wiping.
FAQ
How do I know if I need a wiper motor or a linkage replacement?
If the motor makes noise or you can feel it running but the arms don’t move correctly, the linkage or arm attachment is often at fault. A silent motor can still be electrical, so check fuse/relay and power before buying parts.
Can I replace just the linkage bushings instead of the whole linkage?
Sometimes, yes, especially if only one joint pops off and the pivots move freely. If there’s a lot of slop, multiple worn joints, or stiffness at pivots, a full linkage assembly is usually the more reliable route.
Why do my wipers park in the middle after replacing the linkage?
Most commonly the arms were installed before the motor found its park position, or the arms were placed one spline off. Cycle the motor with arms off, let it park, then reinstall aligned to your tape marks.
Do I need to disconnect the battery for this job?
Many DIYers do fine without it, but disconnecting the negative cable is a reasonable precaution if you’ll be unplugging the motor, working near wiring, or you want to avoid accidental wiper movement.
What if the wiper arm won’t come off the splined post?
That’s common in rusty or high-mileage vehicles. A wiper arm puller usually solves it cleanly; prying hard can bend the cowl area or crack trim, and in worst cases can damage the windshield.
Is it normal for new linkage to feel tight at first?
A slight “fresh” resistance can be normal, but it should not bind or cause slow wiping. If motion looks strained, check for misrouted cowl pieces rubbing, seized pivots, or an incorrectly seated joint.
How long does it take to replace car wiper motor linkage?
Many vehicles land in the 1–3 hour range for a first-time DIY, mostly because cowl removal and stuck arms can slow things down. If access is tight or corrosion is heavy, it can take longer.
If you’re doing how to replace car wiper motor linkage and want a more “no surprises” path, looking up the exact OEM part number and the factory torque specs for your model can save time, and a local independent shop can also confirm whether the pivots or motor should be replaced at the same time.