
how to clean car interior leather conditioner is really about doing two jobs in the right order, lifting dirt without stripping oils, then replenishing what cleaning takes away so the surface stays flexible.
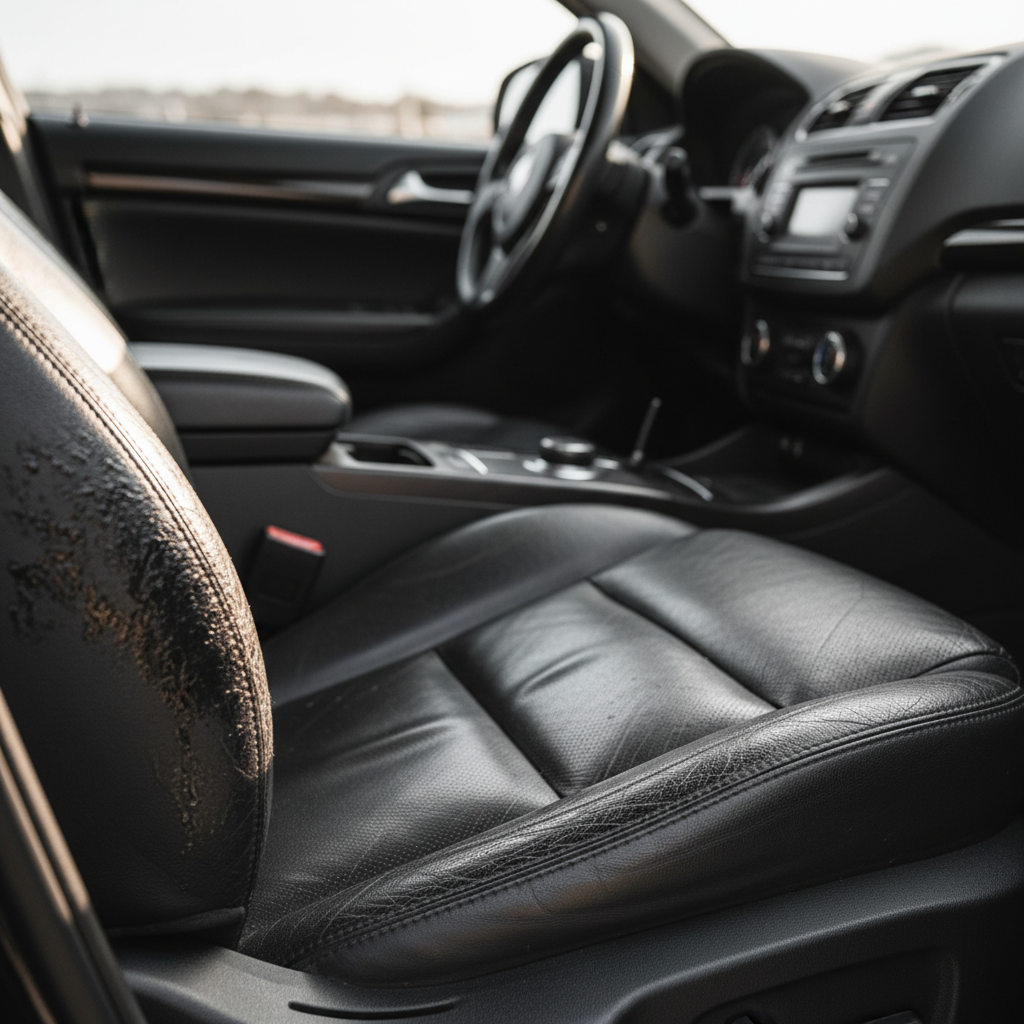
If your leather feels slick, looks shiny in high-traffic spots, or shows light creasing that seems to get worse each month, it’s usually not “old leather” so much as a mix of body oils, dust, and drying. The good news is you can improve the look fast, but only if you stop over-wetting and stop using the wrong household cleaners.
This guide walks you through a practical, low-drama routine you can do in a driveway or garage, plus a few decision points that help you choose the right cleaner and conditioner for your seat type, finish, and level of grime.
What you’re cleaning off, and why conditioner matters
Most car “leather” in the U.S. market is finished leather, meaning it has a protective coating on top. That coating takes the abuse, not the hide underneath, which is why aggressive products can leave the surface dull, tacky, or prematurely cracked.
Common buildup includes skin oils, sunscreen residue, denim dye transfer, dust that turns into grit, and occasional food spills. Cleaning removes grime, but it can also leave the surface dry if you use harsh chemistry or scrub too hard. Conditioner helps by restoring slip and softness, and by reducing friction that accelerates wear on bolsters and seat edges.
According to the National Leather Association, leather benefits from regular care that avoids harsh solvents and focuses on gentle cleaning and conditioning appropriate to the finish.
Quick self-check: what kind of leather and what level of mess?
Before you grab bottles, do a quick read of what you’re dealing with, it saves time and prevents the classic mistake of over-conditioning a coated surface.
Finish type (simple driveway checks)
- Most common (coated/finished leather): water beads slightly, surface feels uniform, stains sit “on top” at first.
- Perforated leather: tiny holes for ventilation, needs lighter product use and less liquid.
- Aniline or semi-aniline (less common in mainstream cars): more absorbent, stains darken quickly, needs extra caution and often a specialist-grade system.
Grime level (pick your approach)
- Light: dusty, mild shine on touch points, no visible stains.
- Medium: tacky feel, light discoloration on bolsters, minor dye transfer.
- Heavy: dark body-oil buildup, embedded dirt in stitching, repeated staining, previous product residue.
If you suspect aniline leather, or you’re seeing color lifting onto your towel, pause and test more conservatively, or consider professional help before you “clean” the dye right off the seat.
Tools and products that actually make this easier
You do not need a garage full of detailing gear, but a few basics make the process faster and safer.
- Vacuum with a soft brush attachment to pull grit out of seams.
- Microfiber towels (at least 6), because you’ll want separate towels for cleaning, buffing, and conditioning.
- Soft leather brush or soft interior brush for grain and stitching lines.
- pH-balanced leather cleaner (or a reputable interior leather cleaner designed for automotive finishes).
- Automotive leather conditioner that leaves a natural, non-greasy finish.
- Optional: cotton swabs for tight seams, and compressed air for crumbs in perforations.
Skip bleach, ammonia, dish soap, and “all-purpose degreasers” on leather. They can work once, then leave you chasing dryness, haze, or peeling later.
Step-by-step: how to clean car interior leather, then condition it
This is the routine that tends to work for most coated automotive leather: dry removal first, controlled cleaning second, conditioner last. If you’re pressed for time, don’t skip vacuuming, grit is what turns wiping into abrasion.
1) Dry prep (vacuum and de-grit)
- Vacuum seats, seams, and between cushions, use the soft brush head.
- Lightly brush seams while vacuuming so you lift embedded dust instead of dragging it across the surface.
2) Spot test (especially on older seats)
- Choose a hidden area near the seat rail or lower rear panel.
- Apply cleaner to a microfiber, not directly to the seat, then wipe and check for color transfer.
3) Clean in small sections
- Mist cleaner onto your towel or brush, then work a section about the size of a sheet of paper.
- Use gentle agitation, let the cleaner do the work, heavy pressure usually creates shiny “burnished” spots.
- Wipe immediately with a clean microfiber to lift soil before it dries back onto the surface.
For perforated leather, keep liquids minimal, use a towel-first method and avoid flooding the holes. If product gets into perforations, blot and lightly vacuum once dry.

4) Handle common stains without overreacting
- Body oil shine: repeat gentle cleaning, you’re removing layers, not “one wipe” dirt.
- Denim dye transfer: use a dedicated leather-safe dye transfer remover if needed, test first, stop if color lifts.
- Sticky spills: soften with cleaner on towel, short dwell time, then wipe; don’t soak.
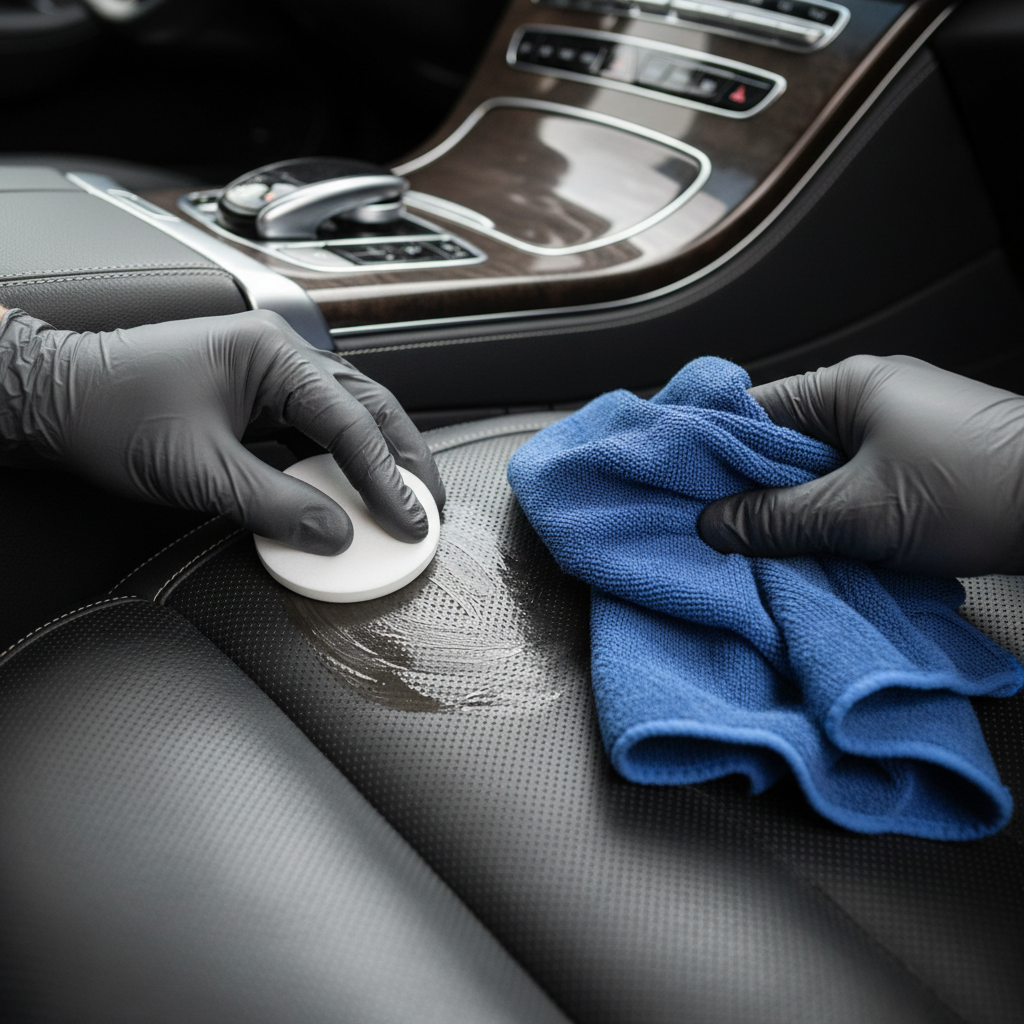
5) Let the surface dry, then condition
- Wait until the seat feels dry to the touch, usually 10–30 minutes depending on humidity.
- Apply a small amount of conditioner to an applicator pad or microfiber, thin and even beats thick and greasy.
- Work it into high-wear areas, bolsters, seat bottom front edge, and headrest.
- Allow a short set time per label directions, then buff with a clean towel to a natural finish.
If you’re following a how to clean car interior leather conditioner routine for the first time, the most common surprise is how little product you need. Over-application often leaves a slick seat and attracts dust.
A simple schedule that keeps leather from getting “ahead of you”
Leather care feels hard when you wait until it looks bad. A light, boring schedule usually wins.
| Use pattern | Clean | Condition | Notes |
|---|---|---|---|
| Daily driver, kids/pets | Every 4–6 weeks | Every 2–3 months | Focus on touch points and spills quickly |
| Commute only, garage parked | Every 2–3 months | Every 3–6 months | Vacuum often, light wipe downs prevent shine |
| High sun exposure | Every 6–8 weeks | Every 2–3 months | Consider sunshade and UV protectant |
According to the U.S. Environmental Protection Agency, indoor environments can accumulate dust and residues, so routine removal and ventilation often helps reduce buildup, especially in closed cabins.
Key points that prevent damage (and wasted effort)
- Vacuum first: grit turns wiping into sanding, especially on seat edges.
- Less liquid wins: cleaner on towel or brush, not a soaked seat surface.
- Thin conditioner layer: you’re finishing the surface, not marinating it.
- Buff matters: if it feels slick, you probably need another wipe with a clean towel.
- Heat and sun: avoid conditioning on scorching hot seats, product can flash off unevenly.
Common mistakes I see all the time
These are the issues that make people swear “conditioner ruined my seats,” when the problem is usually application.
- Using household wipes: many contain alcohols or solvents that can dull finishes over time.
- Over-scrubbing one spot: you can create a shiny patch that looks like a stain but is really worn coating.
- Conditioning dirty leather: you end up sealing in grime and making the seat feel greasy.
- Skipping buffing: leftover residue attracts dust, then the seat looks dirty again in days.
- Flooding perforations: moisture can linger, odor and staining risk goes up.
If your leather is cracking, peeling, or feels rough like sandpaper, cleaning and conditioning might improve feel but won’t reverse coating failure, at that point you’re talking repair or refinishing.
When it’s smarter to get professional help
Some situations cross from “detailing” into “restoration.” If you’re in any of these categories, a professional detailer or leather repair specialist often saves money versus trial-and-error products.
- Color transfer that won’t budge without aggressive rubbing, you may need a targeted remover and controlled technique.
- Peeling or flaking coating on bolsters or seat bottoms, conditioning won’t fix a failing topcoat.
- Deep stains on absorbent leather where moisture darkens the area quickly, risk of water marks is real.
- Mold or persistent odors, this can be a health concern, consider consulting a qualified professional for assessment and safe remediation.
Conclusion: keep it gentle, keep it consistent
how to clean car interior leather conditioner comes down to restraint, remove grit, clean in small sections, then condition lightly and buff until the seat feels natural, not oily.
If you do one thing this week, vacuum seams and bolsters, then do a careful wipe with a leather-safe cleaner. If you can do a second thing, add a thin conditioner layer and buff it out, that’s usually where the “newer seat” feel comes back.
FAQ
What’s the correct order, cleaner then conditioner or the other way around?
Cleaner first, then conditioner. Conditioner on top of dirt tends to trap residue and makes the surface feel slick, which also attracts dust faster.
How often should I use a leather conditioner on car seats?
For most daily drivers, every 2–3 months is a practical cadence, with more frequent light cleaning. Hot sun exposure and high mileage can justify conditioning a bit more often, but heavy application rarely helps.
Can I use baby wipes or disinfecting wipes on leather seats?
It’s risky. Many wipes include alcohol or strong surfactants that may dry or dull the protective finish over time, so a dedicated leather cleaner usually causes fewer surprises.
My seats look shiny, is that “conditioned” or dirty?
Shine on driver bolsters is often oil and embedded grime, not healthy leather. If a gentle cleaner on microfiber lifts dark residue, you’re seeing dirt removal, not finish damage.
What should I do if conditioner leaves the seat slippery?
Buff with a clean microfiber until the feel turns more natural. If it still feels slick, you likely used too much, a mild follow-up wipe with a damp towel can help, then dry buff again.
Is steam cleaning safe for car leather?
Sometimes, in careful hands, but it’s easy to overheat or over-wet seams and perforations. If you try it, keep the tool moving, use low moisture, and test an inconspicuous area first.
How do I clean perforated leather without clogging holes?
Use cleaner on a towel, not sprayed directly, and avoid foaming the surface heavily. A soft brush can help around perforations, then blot dry and lightly vacuum when fully dry.
What if the dye is rubbing off onto my towel?
Stop and reassess. Color transfer can mean fragile finish or previous damage, and continuing may worsen it, this is a good moment to consult a leather repair specialist.
If you’re trying to keep maintenance simple, pick a leather-safe cleaner and a non-greasy conditioner you’ll actually use, then put a repeating reminder on your calendar, the “best” products matter less than consistent, gentle care that fits your routine.